
Like many of you, I get 99% of my ideas off of Pinterest. Seriously, how were things done before this website exsisted? I don't want to even think about it.
So for our wedding I was really particular about making it feel quirky, comfortable, and creative. We kind of fell into the teal/mustard/taupe theme early on so I just kept going with it. We lucked out and had this beautiful backdrop for our ceremony and reception so we didn't have to do much decoration wise, but I still wanted there to be touches of things we liked throughout. Our venue is actually an old mansion, you can find more about the place here, so the ceremony was held out side in the "back yard" and the reception floated inside and out onto a brick patio where we had a bar set up and a table for appetizers. So I wanted to add something small to these two tables and saw this idea on Pinterest that I loved.
This is the color scheme I found early on and actually fell in love with the yarn also so I thought this project was meant to be.

First I stopped by Hobby Lobby and picked up "B-A-R" and "E-A-T" cardboard letters for $2.47 each. I also found the yarn below for $4.99 and I picked up a can of glitter spray paint in COLOR for $3.99. I didn't read the actual instructions (if any were provided) for how to get this project completed but I figured I could just figure it out. I set up my hot glue gun and some scissors and that's really all I needed.

I started in the bottom left corner of the "B" by dropping a dab of hot glue in the fold and adhering the start of my yarn.

Then I just started wrapping the yard around and around through the opening. I found that on the corners like this (so on the "B" there were 2 times I had to do this) I had to hot glue about 10 lines of yarn so it would stay and not slip off the edge. These were the most tedious areas, because everywhere else I could just feed the yarn around and layer it to stay.

I think gravity was fighting me, but we got along later. And I will say the "B" was the most difficult letter to cover. Maybe should've started with the "T".


I think it gives it a nice layered look though. The yarn I picked was a "rainbow" and as you can see had multiple sections of various shades and patterns but all in the same family.

Here is some progress on the "R" - this one was so much easier, only one sharp corner to do, yay!

Now, I only yarned the "B", "R", "E", and "T" because I was glittering the "A" for both words, just to mix things up. Here is the "A" - I love glitter spray paint.

And here are the words all complete; we leaned up the "EAT" above our kitchen nook bar and the "BAR" above the shelves in our bar area.

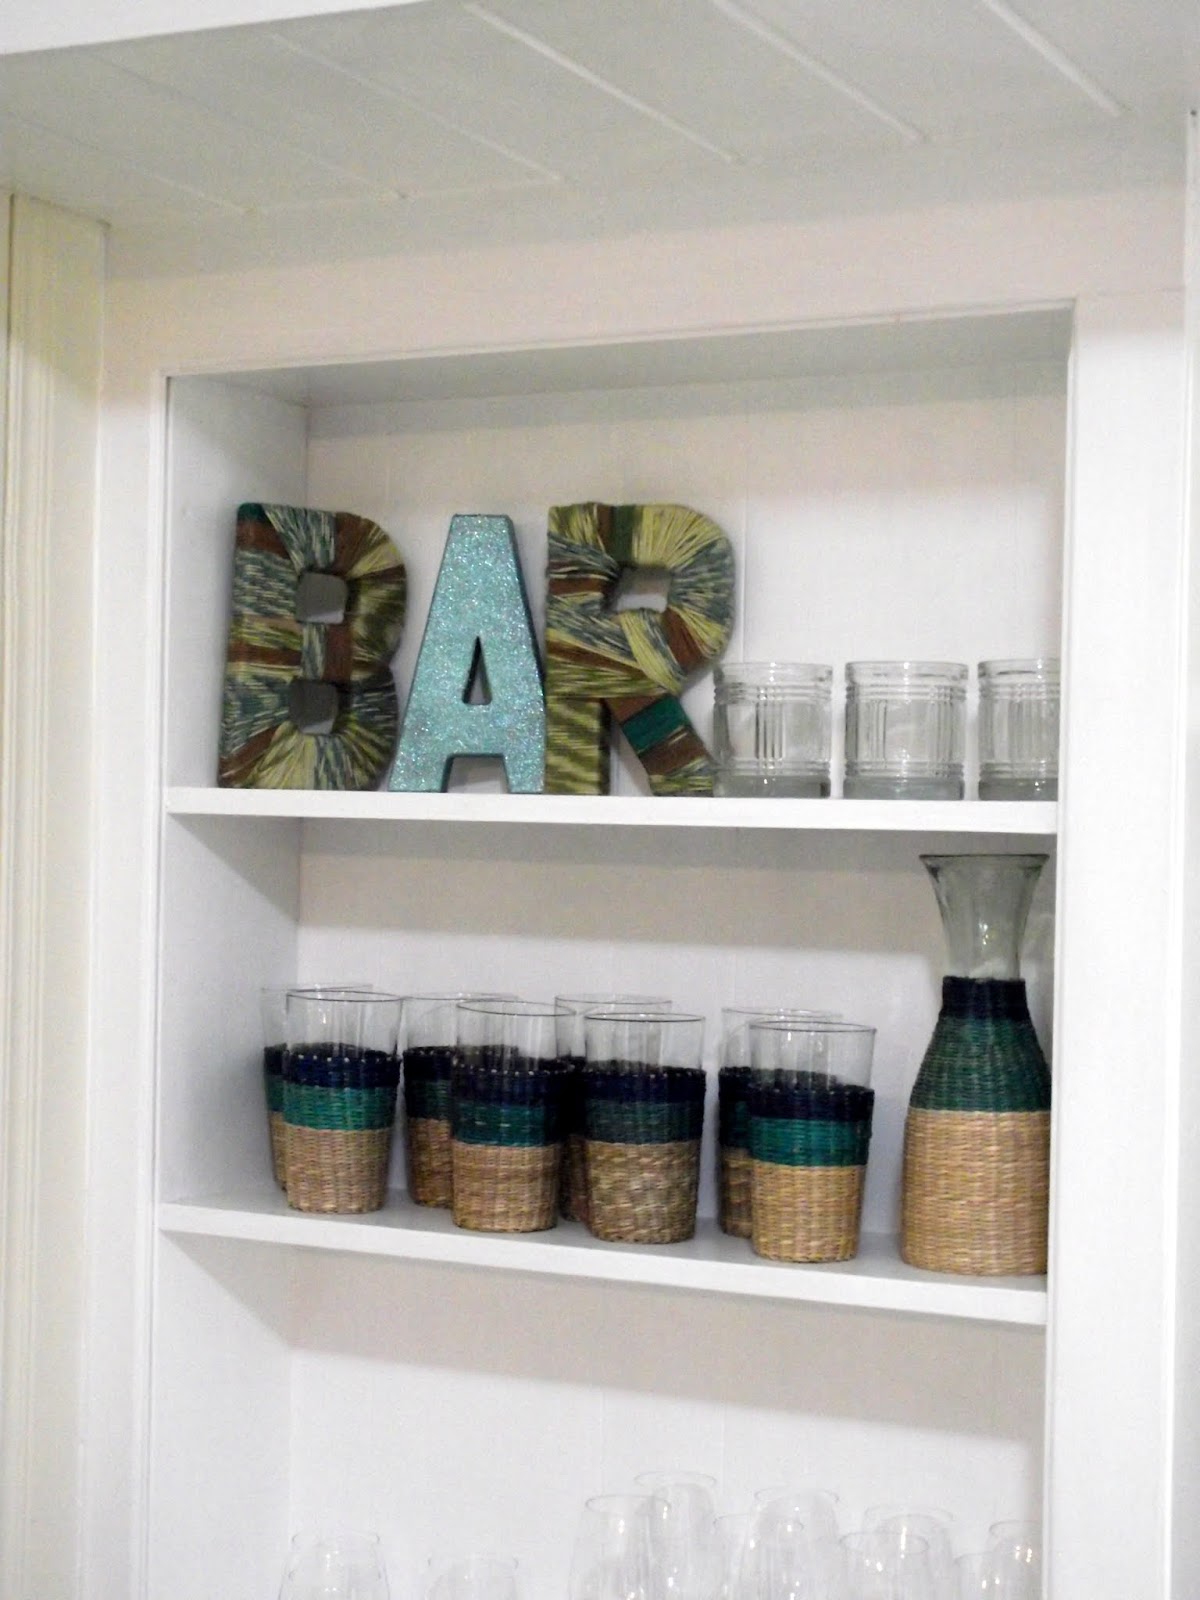
So not only did they work great for the wedding but we like using the letters around the house as well. It was a project trying to create reusable decorative pieces for the wedding in hopes that we didn't have to toss out or try to ebay everything. Anyways, be back later with more DIY wedding projects, yay!
No comments:
Post a Comment